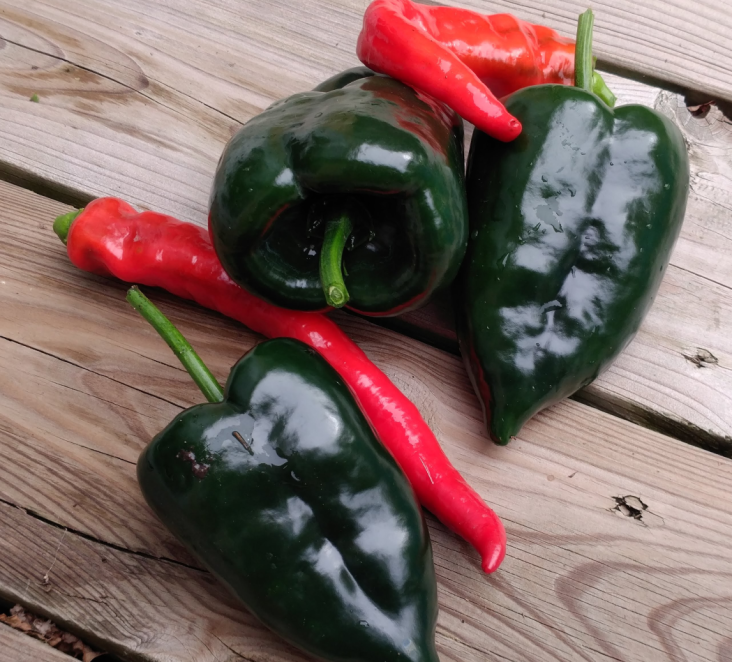
Roasted Poblanos

At this time of year, there’s always a surplus of peppers from the garden. This year my poblanos are the star, providing 5 pounds this past week from just 4 plants.

Poblanos galore!

Poblanos are a versatile, mildly hot and flavourful addition to soups, stews, casseroles and many other dishes so I really hate to waste them. What to do? In this post, I’ll share a simple way to roast, skin and freeze them so you can enjoy these beauties year-round. This method works well with any thick-walled pepper including sweet bells.

Start with the freshest peppers you can get – ideally picked from your own garden but they’re cheap to buy at farmers markets in season too. While many people like to use a gas grill or even a fire, I prefer to use my oven as it’s much easier to ensure even heat without too much charring.

The process is simple . . .

  • Pre-heat your oven to 450 F
  • Cut the washed peppers in half, removing the seeds and pith
  • Tear off a sheet of parchment paper or foil to cover a baking sheet (you can go without, but you’ll have more cleanup at the end)
  • Arrange the peppers skin side up in a single layer and pop them in the oven for 20 to 25 minutes
  • The high heat will blister the skins making them easy to peel
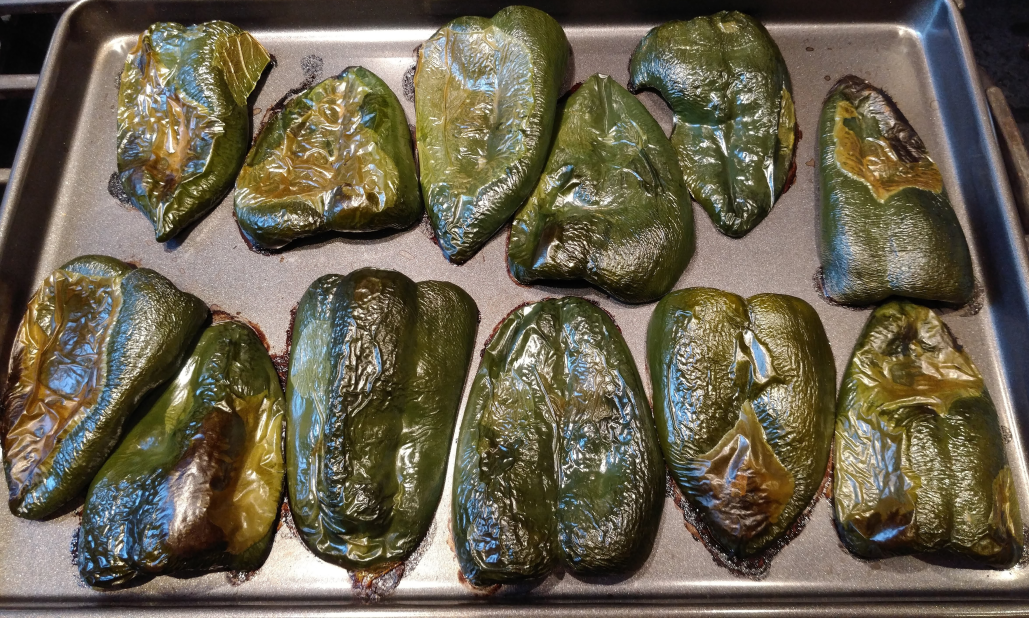
  • Remove from the oven and let cool for a couple of minutes
  • Place the warm peppers in a covered bowl or seal tightly in a paper bag and allow to cool completely – (don’t throw out that parchment paper)
  • Once they’re cool, you should be able to peel the skins off quite easily. It’s a little fiddly, but it goes quickly once you get the hang of it. Don’t worry about removing every bit of skin
  • Next, arrange the peeled peppers on the baking sheet in a single layer on parchment (reuse the piece you used for roasting) and place in the freezer until they’re frozen solid. This individual freezing step is important so you can conveniently get out one at a time and avoid having them freeze into a solid block!
  • Pop them in a zip-lock bag, label and store in your freezer.

I love to hear your feedback, so post a comment here or share this with your friends on social media. You can also sign up to receive email updates whenever I add a new post – simply fill in the form on this page with your name and email and click subscribe.

Mid summer update

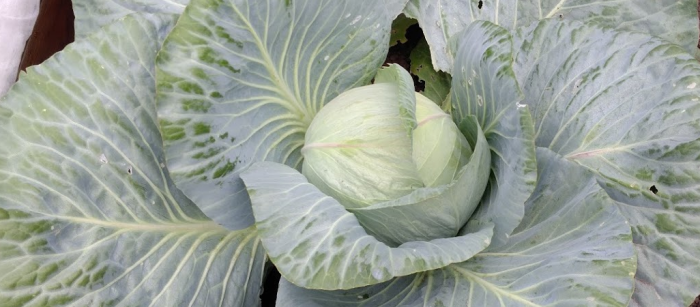
As always, August brings a rich harvest in Huron County – everything seems to peak at the same time. Our vegetable garden has been slow to start, but is now producing a surplus of beans, cabbage, carrots and onions. Fortunately I’m not reliant on my own peppers as they’re somewhat of a disappointment this year. More about that in a later post. Meantime, I’ve been busy with a few other projects.

Apple and cherry slabs for smoke

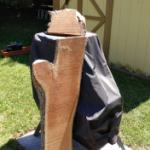
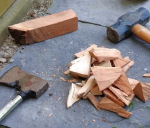
I picked up some nice slabs of apple and cherry wood for the smoker. I felt kinda bad about cutting the big apple piece up for chips as it would have made a beautiful tabletop. However, I think these are better than buying the bags of chips and definitely cheaper. Tested them with a hunk of brisket on the smoker.

Fruit wood chips deliver a sweet smoke flavour

My Bluewater Pepper Farm Chipotle powder is for sale at Masse’s Fruit and Vegetable Market during the summer months. It sold well this past year, so be sure to drop by Masse’s when they re-open in late May. While you’re there, pick up outstanding sweet corn, strawberries, peaches and all kinds of other fresh local fruits and vegetables. If you can’t wait, I’m now pleased to offer an online shop too.

Raised beds

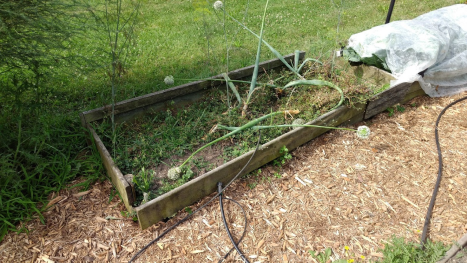
Looking pretty sad

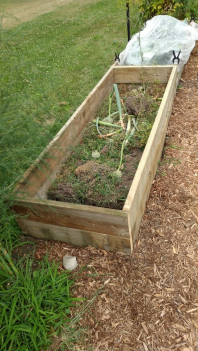
It was time to rebuild a couple of my raised beds. They served well for a decade, but I confess they weren’t very well built to begin with

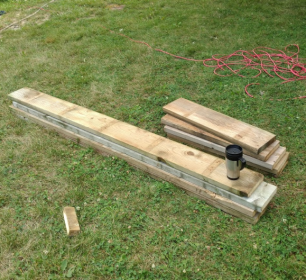
I used some salvaged 2×8 lumber from the deck we replaced last year. I know many will tell you to avoid pressure treated lumber for garden boxes, but these are well aged. They do not contain arsenic which hasn’t been used in a few decades. Best of all, it was already stacked behind the shed, looking for a purpose.

Cut for a box 7′ long x 30″ wide
These should last me a long time!

A couple of hours later, I’m happy with the end result. I decided to build it up higher this time – the 2×8’s made that easy to do. I prefer the height because it allows me to add more soil, plus it’s just plain easier to reach. Another option would be to use it as a cold frame. I could add a hinged plastic window on top to grow greens and such in early Spring.

Pepper seedlings in soil blocks!

Minimize transplant shock and eliminate plastic pots by starting your veggie seeds in soil blocks

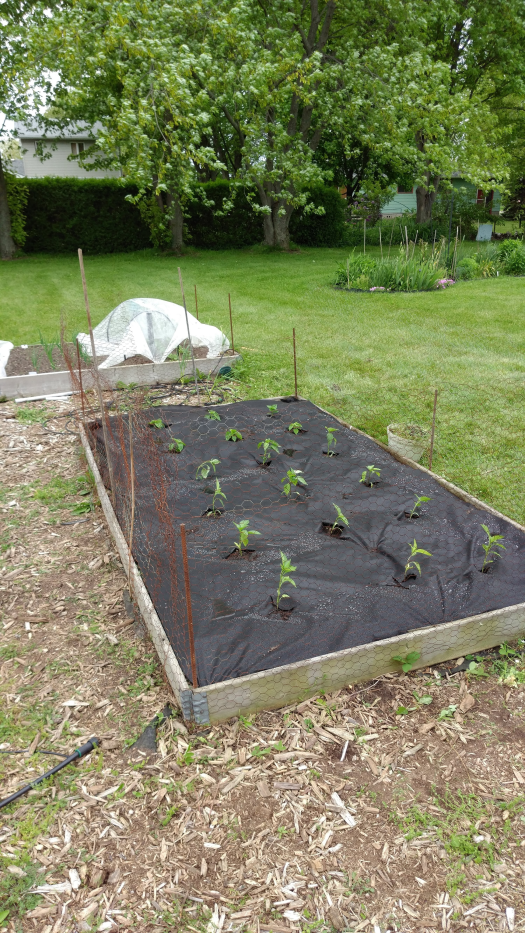
Well, it’s been an extra long Spring in this part of the country with cool, wet weather extending into June. As a result, the growing season is 2 or 3 weeks behind. Despite that, I planted out 7 varieties of baby peppers this past weekend – I’m hoping for the best.

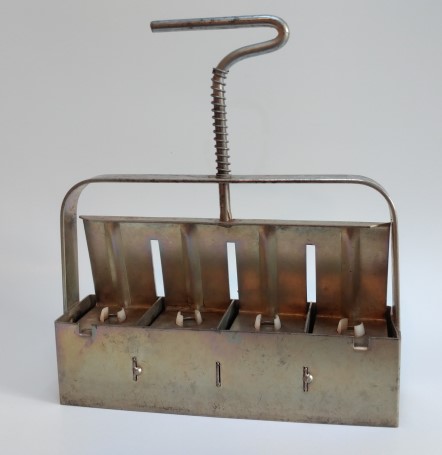
My block-making tool. It presses out four 2″ cubes at a time.

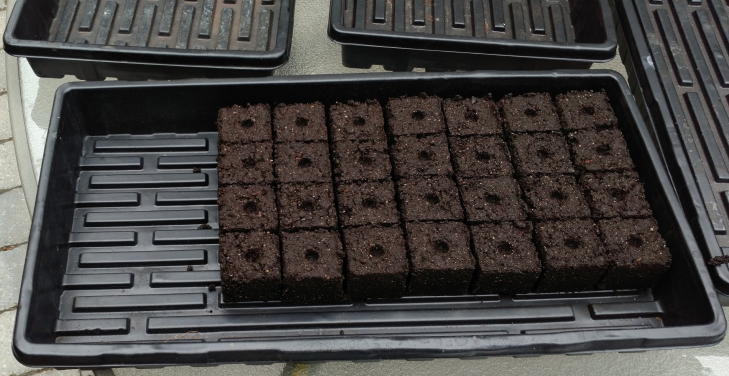
When it comes to seed starting, I’ve been a devoted fan of soil blocks for several years now. If you’re wondering what a soil block is, it’s pretty much what the term implies – 2″ cubes of soil with a dimple on top where you drop the seed. Using a simple block-maker tool and the right soil mixture, I can crank out a flat in no time. Give them good lighting, moisture and a little time and voilà, I can start 45 plants in a standard seed flat. This technique has lots of advantages . . .

If you liked making mud pies as a kid, this is the perfect hobby!

First, you don’t need any plastic pots. All you require is the flat to hold your blocks. This is huge for me – I really don’t want my hobby to burden the earth with more plastic waste.

The second big benefit comes when you plant them out – you just drop the cube directly into your garden. There’s very little transplant shock as the seedlings are still rooted in the soil they started in.

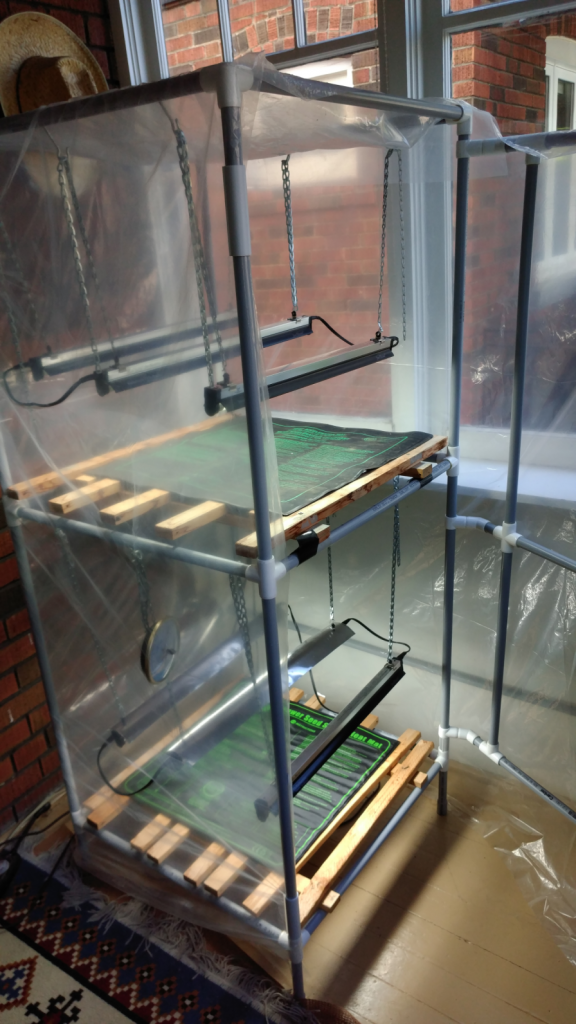
Yep, this is the greenhouse.

While growing in the blocks, the seedling roots just grow out to the edge of the block and then pause – this is called “air pruning”. However, as soon as you plant them into the ground, those roots pick up where they left off. This contrasts with seedlings started in pots where the roots often grow into a dense mat at the bottom and need to be broken up when you plant them, resulting in transplant shock.

I use a home-made “greenhouse” kitted out with heat mats and grow lights on timers to get things started. It doesn’t look like much, but it can handle 4 flats at a time giving me more than enough capacity to fill my raised beds at the lake.

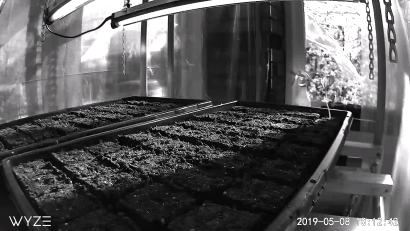
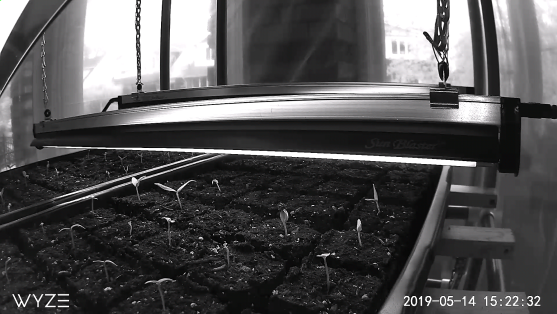
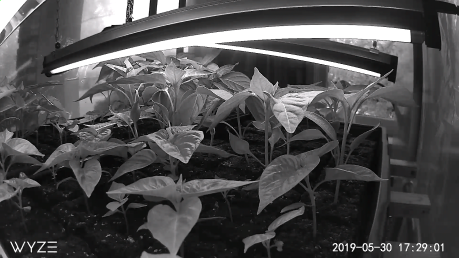
I’ll share more info on soil blocks in later posts. Meantime, here are a few pix of the pepper seedlings’ 5 weeks in the greenhouse taken with my web-cam.

Day 4 – no action yet
Day 10 – the seeds are sprouting nicely
This is just shy of 4 weeks – May 30, 10 days before they hit the garden

And here they are – waiting for some hot weather now! The chicken wire defends against groundhogs and rabbits.

Raised beds are ideal for growing peppers and lots of other veggies too.